Skip to content
Expert commercial roofing services with a quick, reliable inspection.
Call Us Today!
+1 806-404-1250
Home
About Us
Services
Commercial Re-Roofs
Commercial Roof Coatings
Commercial Roof Repairs
Comprehensive Roof Report
Multi-Family & Residential Roofing
Public Works
Locations
Projects
Blog
Home
About Us
Services
Commercial Re-Roofs
Commercial Roof Coatings
Commercial Roof Repairs
Comprehensive Roof Report
Multi-Family & Residential Roofing
Public Works
Locations
Projects
Blog
Call Now
Call Now
Home
About Us
Services
Commercial Re-Roofs
Commercial Roof Coatings
Commercial Roof Repairs
Comprehensive Roof Report
Multi-Family & Residential Roofing
Public Works
Locations
Projects
Blog
Blog Posts
Last Modified: March 28, 2026
8 Energy‑Efficient Upgrades to Improve Your Commercial Roof
Read More
Last Modified: March 19, 2026
Nailer Safety 101: What You Need to Know Before You Start Siding
Read More
Last Modified: March 19, 2026
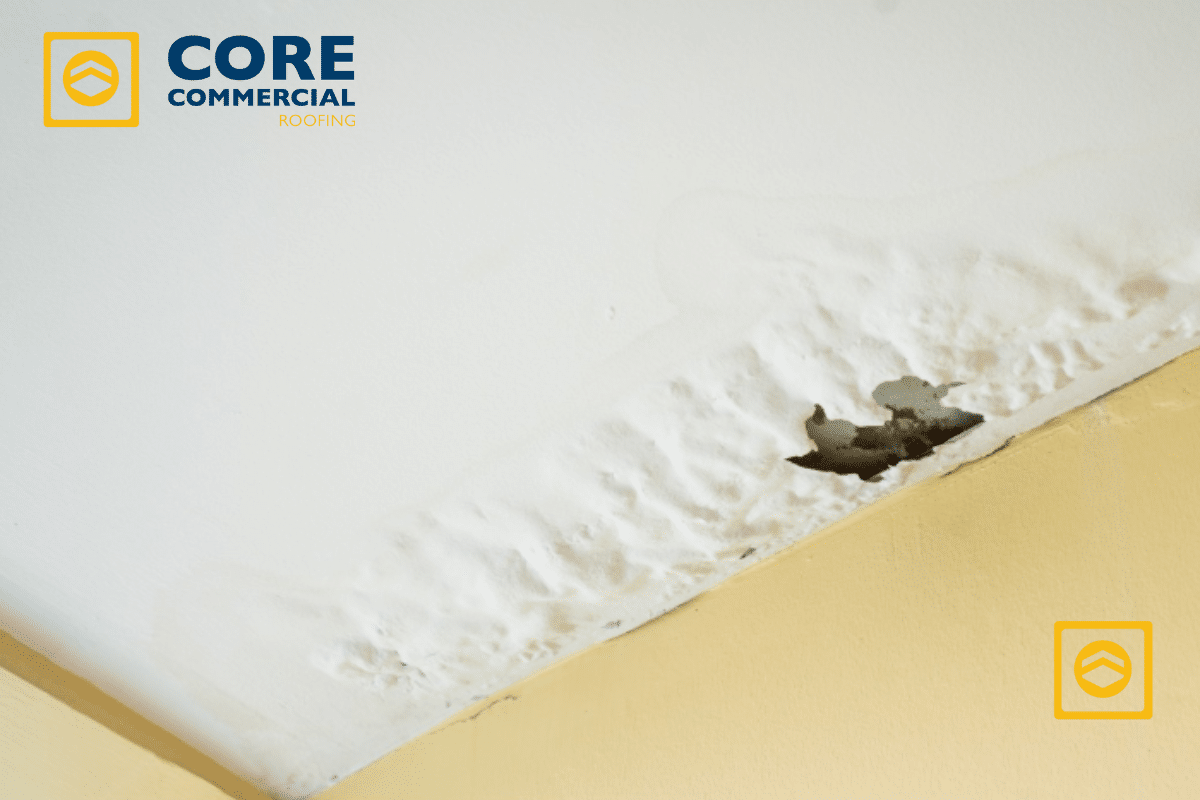
How Much Does It Cost to Fix a Roof Leak? 2026
Read More
Last Modified: March 16, 2026
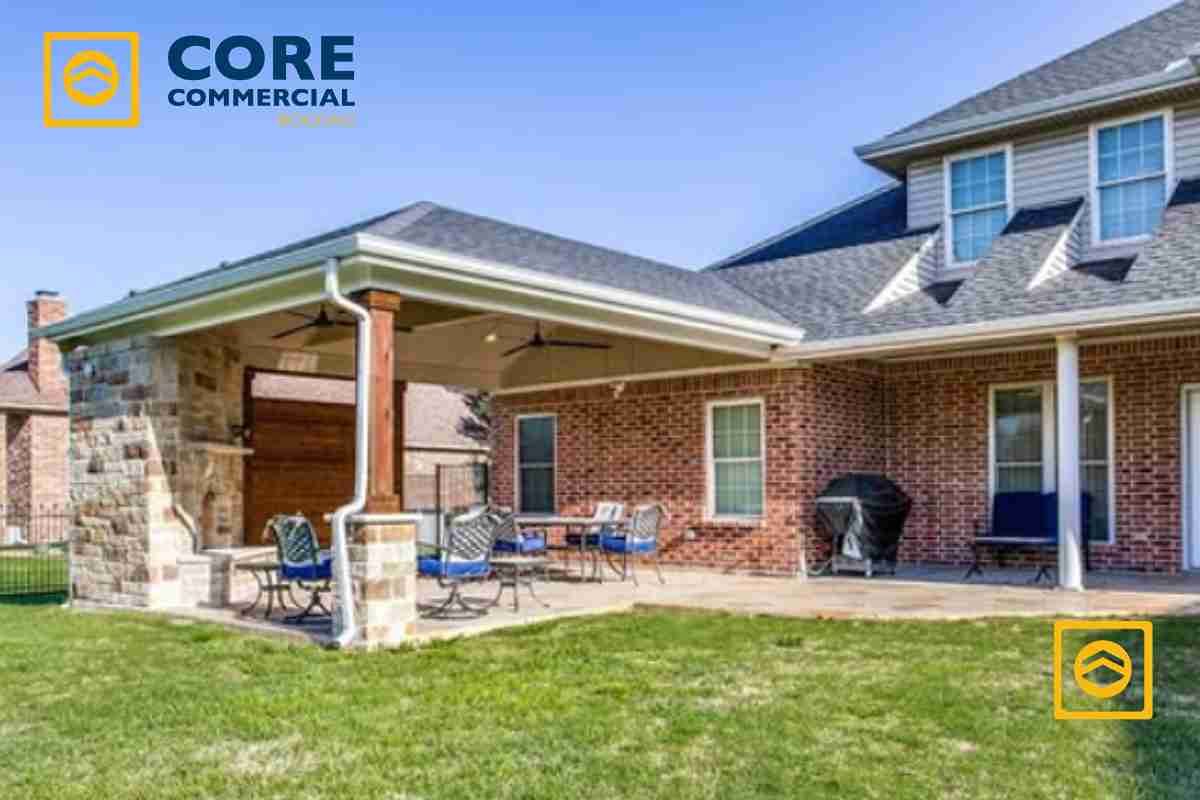
How to Build a Porch Roof: A Step-by-Step Guide for Commercial Entryways
Read More
Last Modified: March 8, 2026
Do Roofing Warranties Transfer to New Owners? Everything You Need to Know
Read More
Last Modified: February 26, 2026
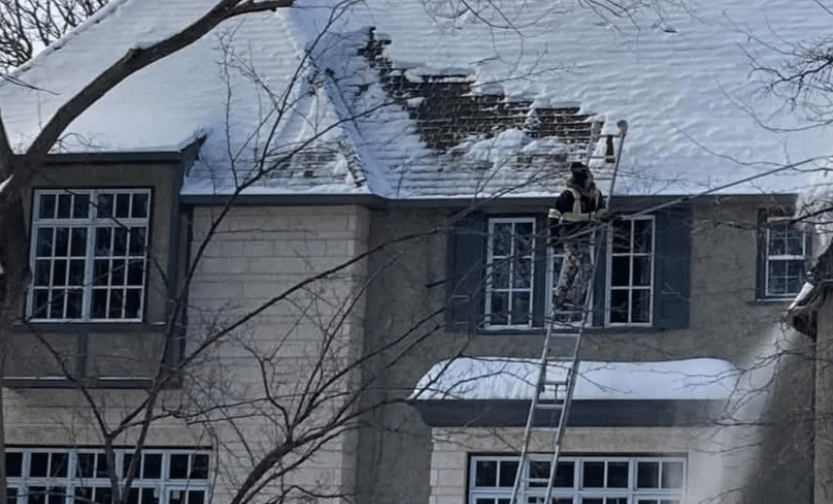
How to install snow guards for metal roofs?
Read More
Last Modified: February 26, 2026
How to Work With Roofing Contractors: Communication & Expectations
Read More
Last Modified: February 26, 2026
10 Practical Solutions for Low Cost Commercial Roof Repairs in Texas
Read More
Last Modified: February 26, 2026
5 Long‑Lasting Roof Coating Solutions for the Texas Climate
Read More
Last Modified: February 26, 2026
How to Reduce Heat in a Commercial Property Roof?
Read More
Last Modified: February 26, 2026
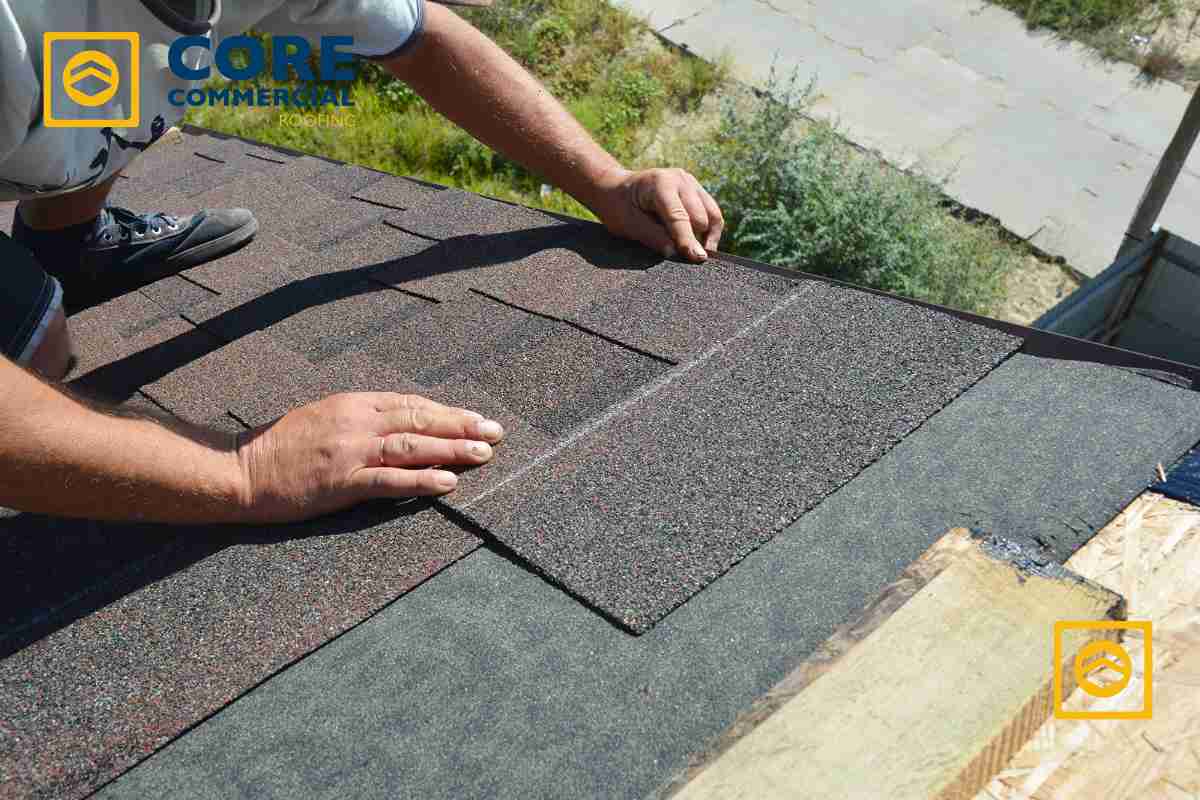
How to Repair a Damaged Roof: A Simple Guide for Business Owners
Read More
Last Modified: February 26, 2026
10 Reliable Solutions for Improving Roof Drainage on Texas Commercial Buildings
Read More
Last Modified: February 26, 2026
10 Questions to Ask When Checking Your Commercial Roof’s Health
Read More
Last Modified: February 26, 2026
8 Essential Roof Restoration Solutions for Aging Commercial Buildings in Texas
Read More
Last Modified: February 26, 2026
Spring Roofing Tips to Prevent Leaks and Damage
Read More
Last Modified: February 26, 2026
6 Common Commercial Re-Roofing Problems in Texas and Their Solutions
Read More
Last Modified: February 26, 2026
10 Preventive Maintenance Strategies to Avoid Future Roof Issues in Texas
Read More
Last Modified: February 16, 2026
10 Cost‑Reducing Roof Coating Strategies for Texas Businesses
Read More
Last Modified: February 14, 2026
8 Seamless Roof Coating Techniques to Avoid Texas Roof Failures
Read More
Last Modified: February 12, 2026
7 Signs Your Commercial Roof Needs Immediate Repair (and How to Act Fast)
Read More
Page
1
Page
2
Page
3
Page
4
Call Us
 Call Us